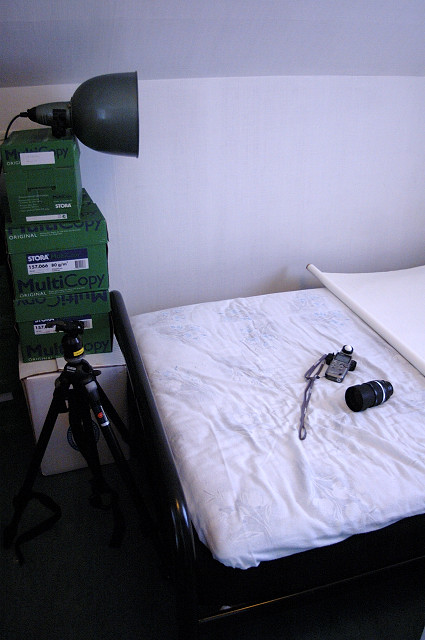
The main light and the tripod
If you found this page interesting or found any errors please feel free to contact me. It would be very interesting to know how you came to stumble upon this page and if you think it provided valuable information that was helpful to you.
This was a test to see if the DC feature (Defocus Control) of the Nikon 105mm f/2D AF DC-Nikkor really made a difference. At first glance the effect was not clearly visible since it is rather subtle. The DC can also be found on the Nikon 135mm f/2D AF DC-Nikkor. I am not aware if the Canon Soft Focus lenses uses the same technology to achieve soft focus.
My first test was taken with a F80 using black and white film. Then enlargements were made on 8x10in paper. You could see the effect there but when scanning the negatives it was not as distinct anymore. So when I got my D70 I wanted to repeat the experiment. I do not use this feature very often, but it was fun to see that it made a difference, although small.
This is by no means an exhaustive technical test or review. It is merely an personal experiment that I wish to make available to the public since I have seen many questions regarding DC but not many really good answers. Now you can look at the pictures and understand yourself.
|
The lens itself is of excellent build and handles great. The large maximum aperture gives great bright view in the viewfinder and it focuses quickly due to the Rear Focusing construction.
The aperture diaphragm has rounded blades making the diaphragm opening very round and thus gives nice out-of-focus elements. The hood is built in and by pulling it out and turning it two times to the right you lock it into place.
DC, Defocus Control, allows you to control the spherical aberration of the lens. Usually aberrations are not something you want in your lens but sometimes they can give effects that are desireable. In this case they can give softer or harder out of focus effects or when extreme a soft focus effect, similar to what you get with some filters.
To illustrate the following I recommend that you have looked at the excellent essay Understanding Boke by Harold M. Merklinger over at The Luminous Landscape. I will refer to the figures in this essay.
To understand this you should first understand how focus works with a camera. When photographing something only one plane is ever in focus. Everything in front of that plane or behind it is unsharp. The thing called Depth-of-Field is just an illusion. "What?! I have seen it", you claim.
Well, if you enlarge the image you will see that the Depth-of-Field decreases as the image is enlarged more and more, given that you are watching the image from the same distance. If you step back a few steps and repeat the experiment you will see that the same happens again but the Depth-of-Field seems to be a little bit larger this time at the same magnification rate as before.
Why? It is really rather simple. Our eyes can only resolve small detail down to a certain size. Instead of using size which is dependent upon how far away the object is, we can measure the smallest angle that we can distinguish details in. This exact angle is not really important, but what is is that we cannot distinguish a small dot from a small disc if the disc is small enough. Our eyes will make us believe that both are dots!
This is why you see the Depth-of-Field effect. Tiny objects close to the plane of focus will be portrayed not as dots, but as small discs. In figure 1 you see this illustrated with triangles. But if we, at normal magnifications and normal viewing distances, cannot distinguish these discs from dots, the objects will look sharp, thus creating an illusion that there is an area in the picture where objects are portrayed as sharp.
The further away from the plane of focus we get the larger the discs. Figure 9, just below the middle of the essay, shows how seven dots, three in front of the plane of focus, one on the plane of focus and three behind are portrayed on film. This lens has pretty neutral bokeh (I'll come back to the term bokeh later). How do I see this? Well the discs are uniformly gray with no really sharp and bright edges or centers. It is not exactly neutral since the right circles have a slightly higher edge contrast, but not much.
Bokeh is a japanese term that describes how the out of focus elements looks. It is pretty subjective but some factors can be measured and quantified. The effect contributed by the spherical aberration is one and the one that Harold describes.
Now, how does spherical aberration come into this. The simplest example would be if you take a look at figure 6. This image shows four light dots are placed, two in front of the plane of focus and two behind. The plane of focus is exactly in the middle of dot two and three. If this image was taken with the 105mm DC-Nikkor, the dial would be set to REAR to achieve this effect.
As you see the two dots in front of the plane of focus have distinct edges where as the centers are darker. Behind the plane of focus the dots have light centers and fading edges. Imagine that two dots are close to each other and behind the plane of focus. Then the soft edges would make it apperar that they are melted together whereas if they were in front of the plane of focus you would get two overlapping circles.
If you set the dial/ring to FRONT you just mirror this figure.
So how do you use this lens? If you have a background that you wish to have a softer background you first set the aperture. Then you turn the front, DC, ring to match the set aperture to REAR. Then you compose and focus. You must set the DC ring before focusing since there is a small shift of focus when you adjust the DC. If you have anything in front of the main object these objects will get an ugly out of focus effect.
Should I ever set this ring to FRONT? Yes. Imagine that the background is pretty even and soft. You might have a plain white or gray backdrop or just the sky, but in front of the subject you have some bushes or branches that pops up. Then you would want the branches to to be soft and the background doesn't contain any detail that would render as overlapping circles. Remember that this effect is most visible in small points or thin details where the contrast to the background is high.
This was theory, but what about some real pictures?
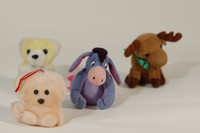
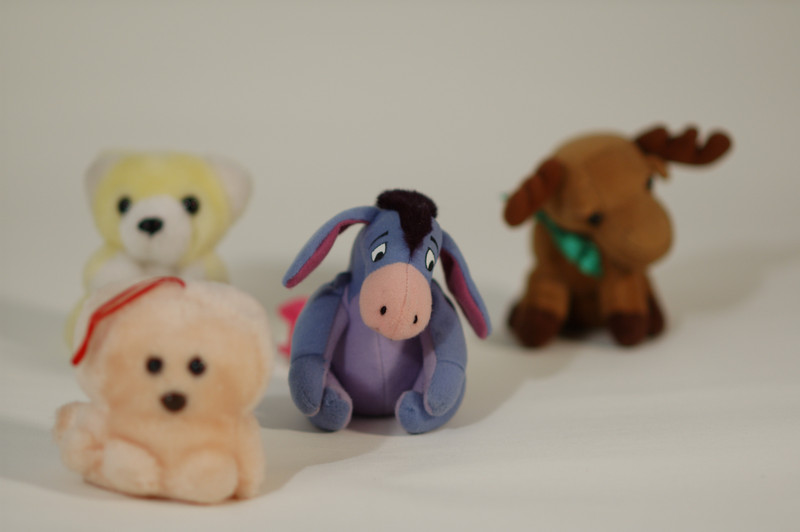
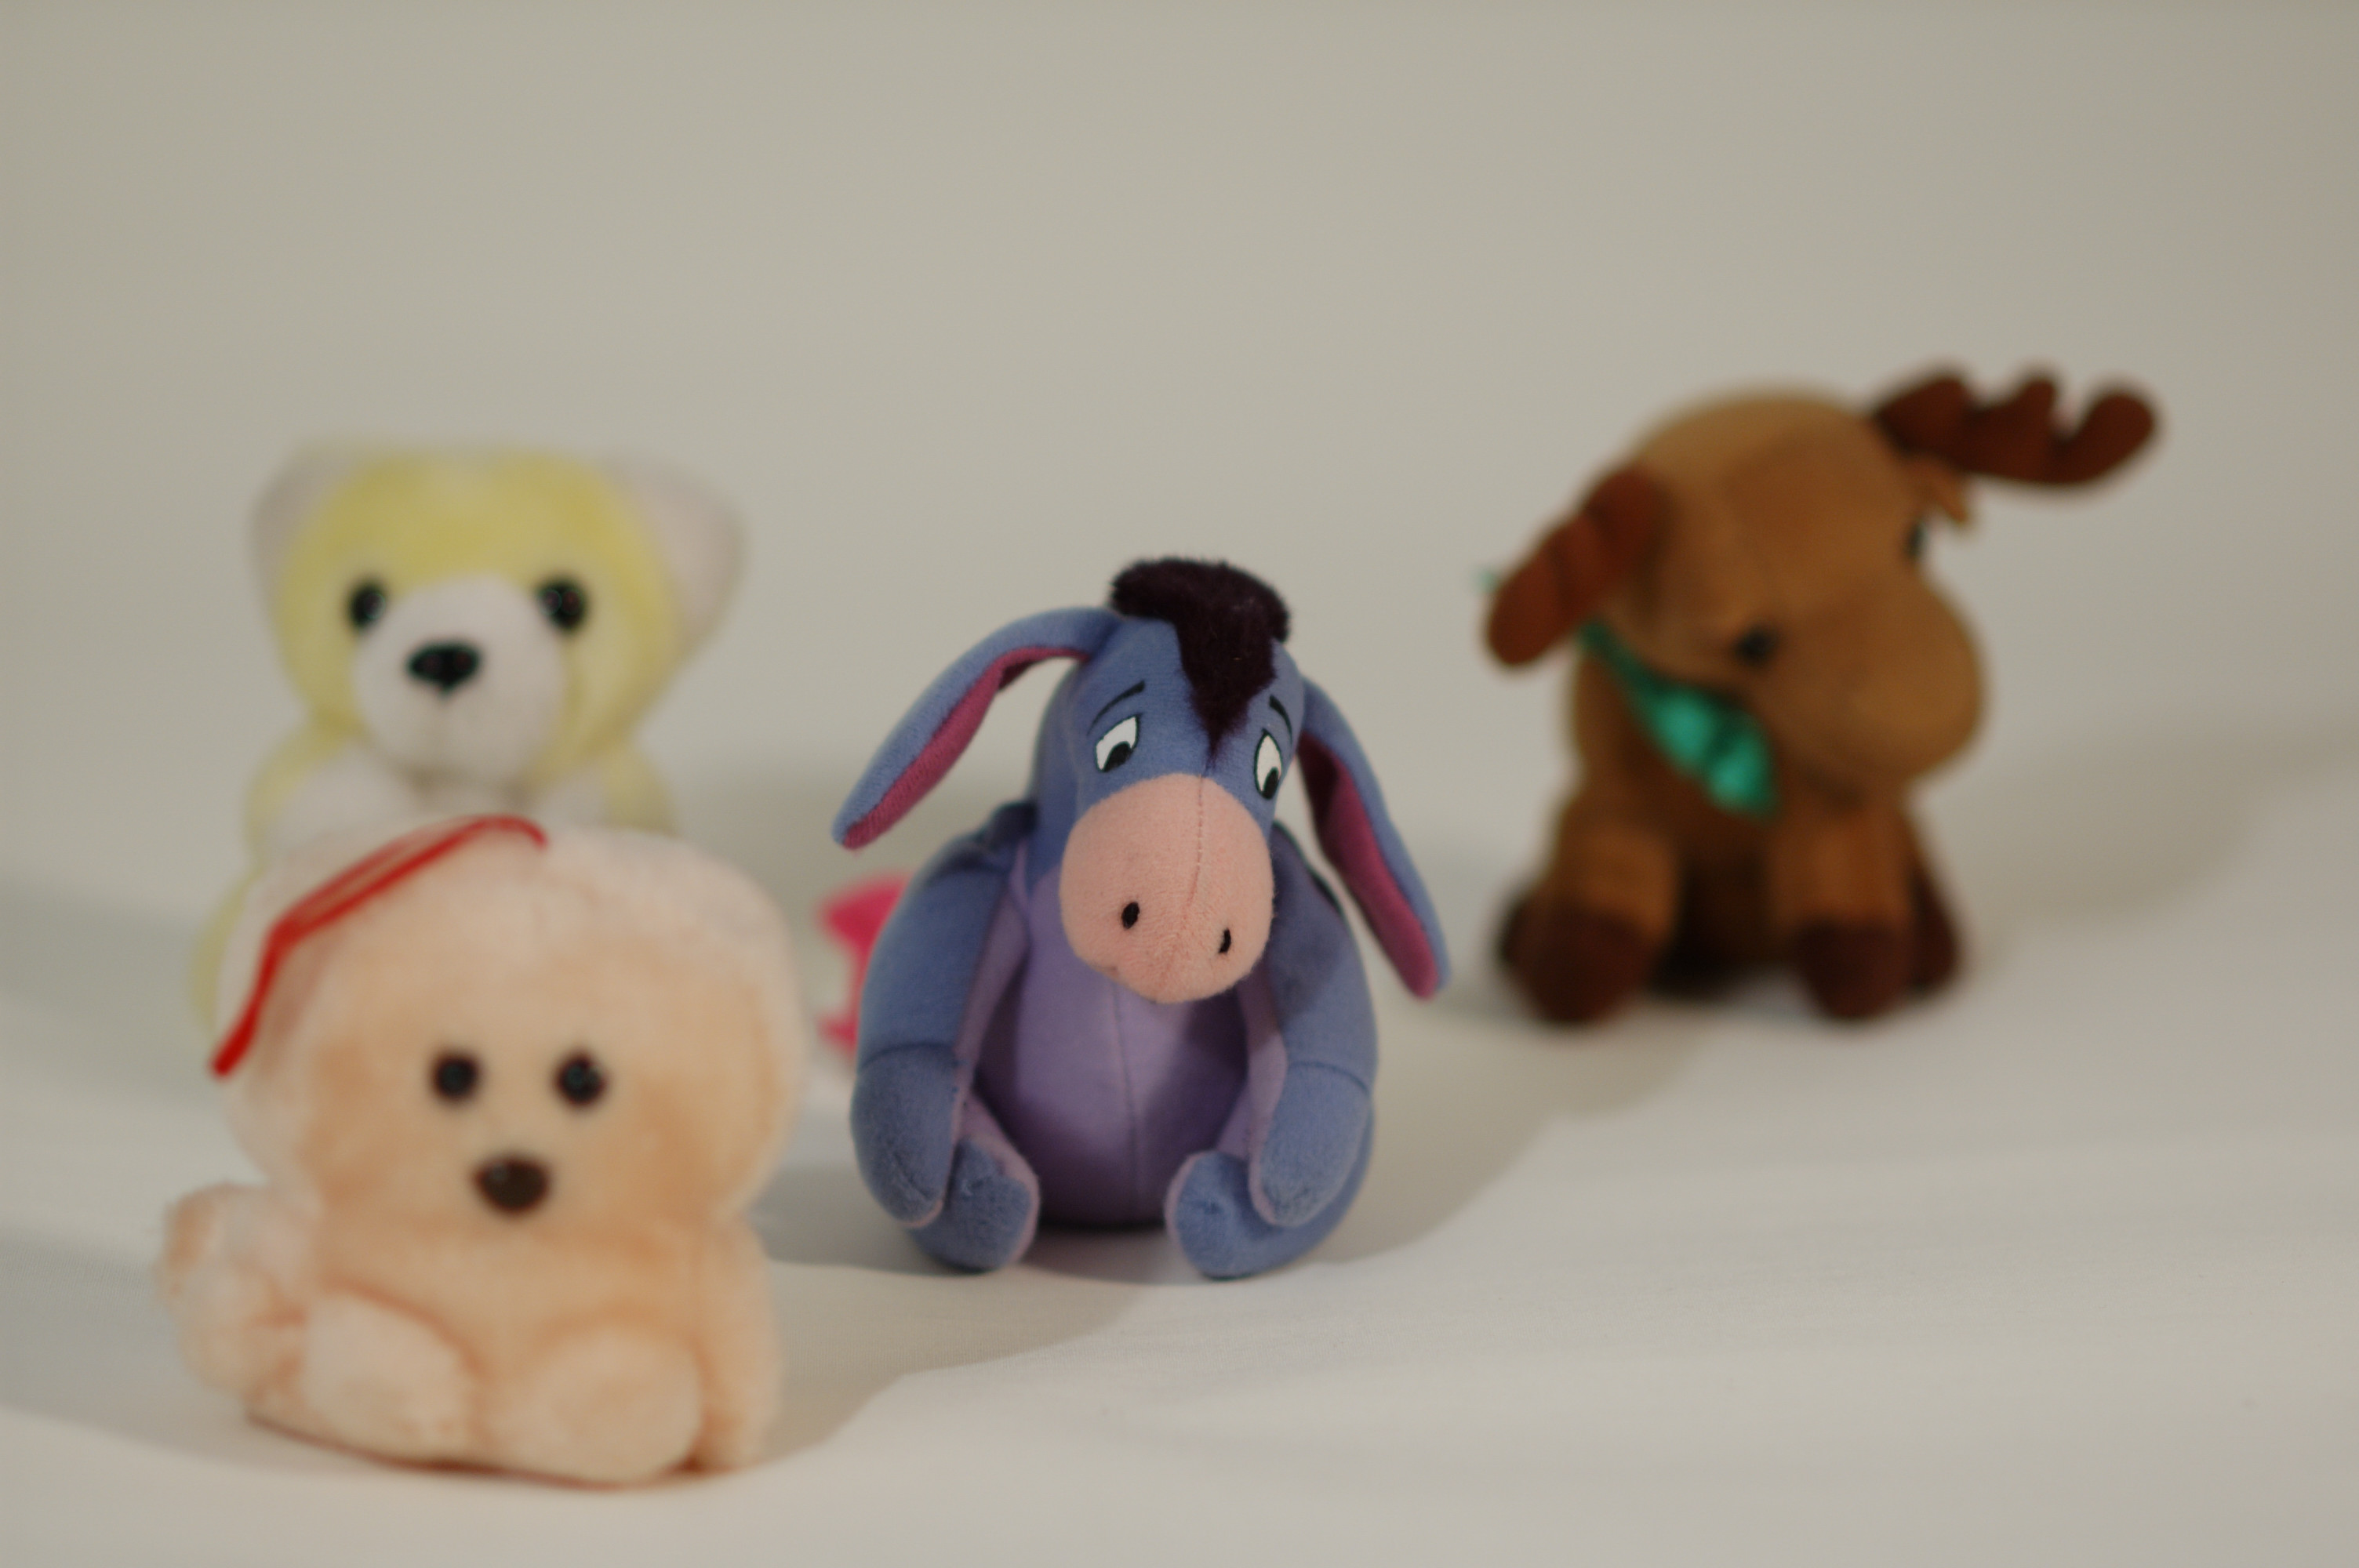
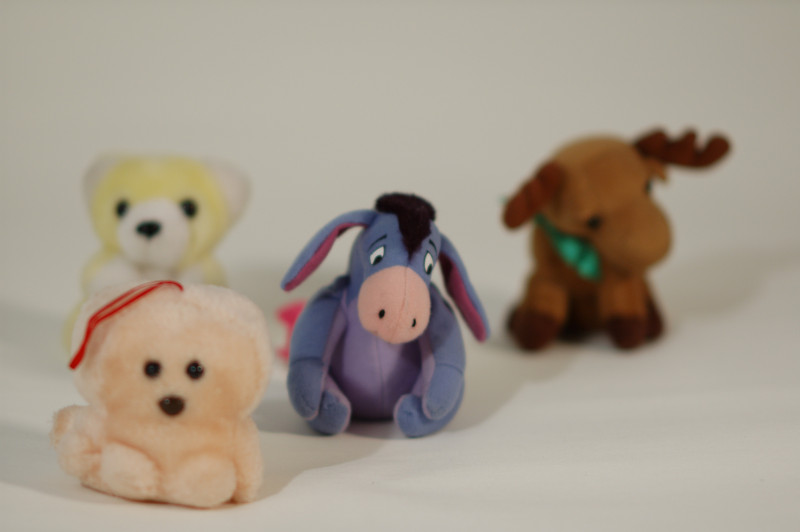
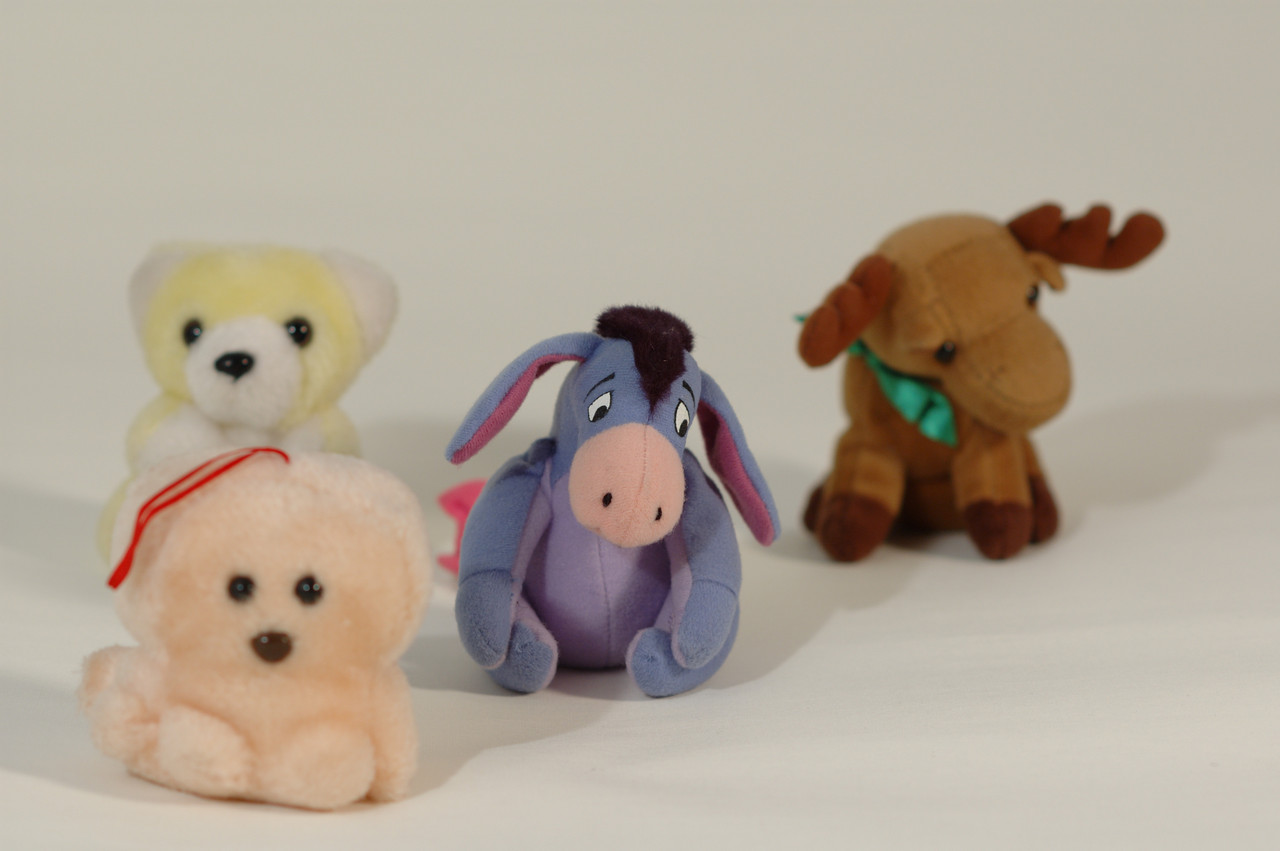
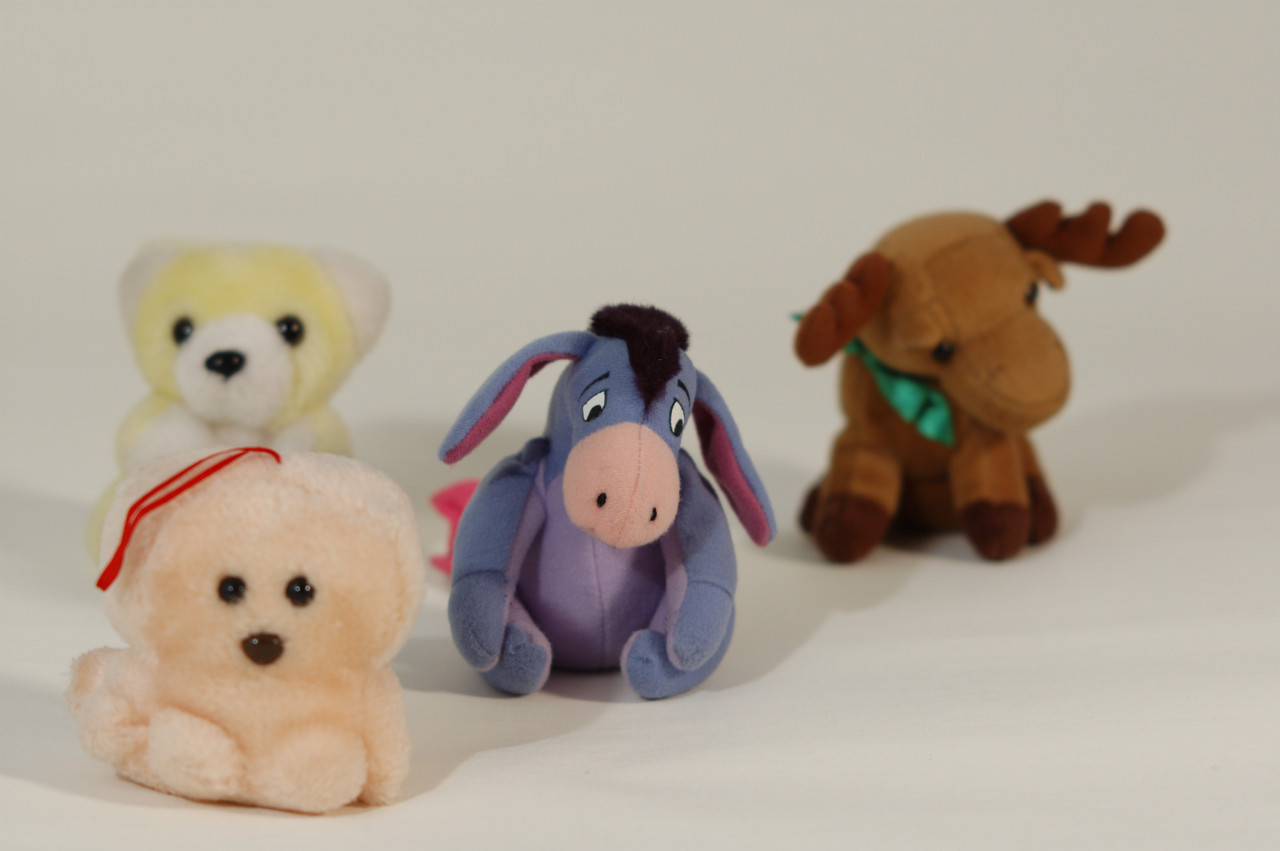
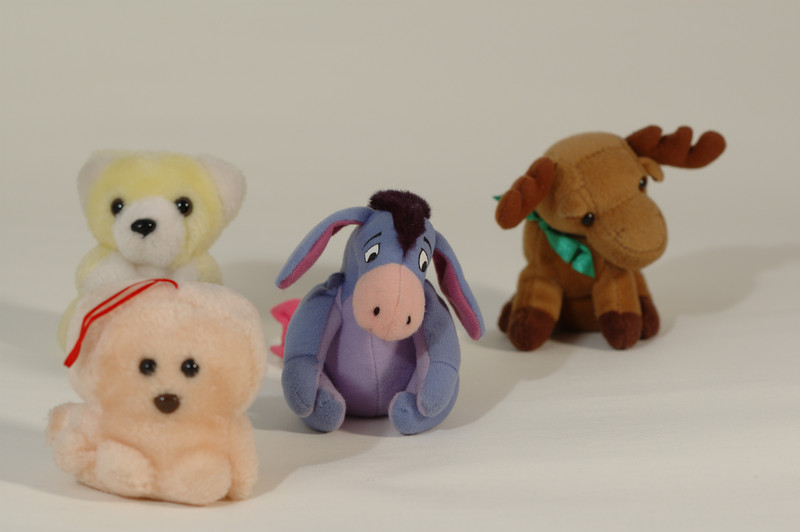
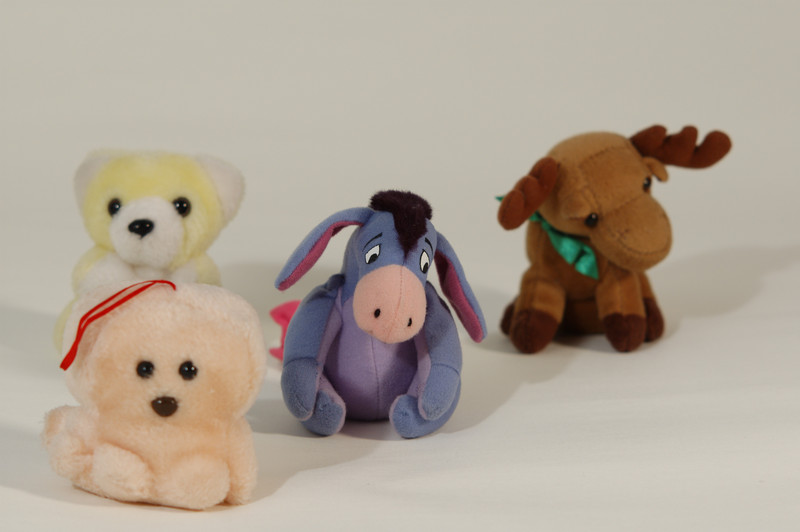
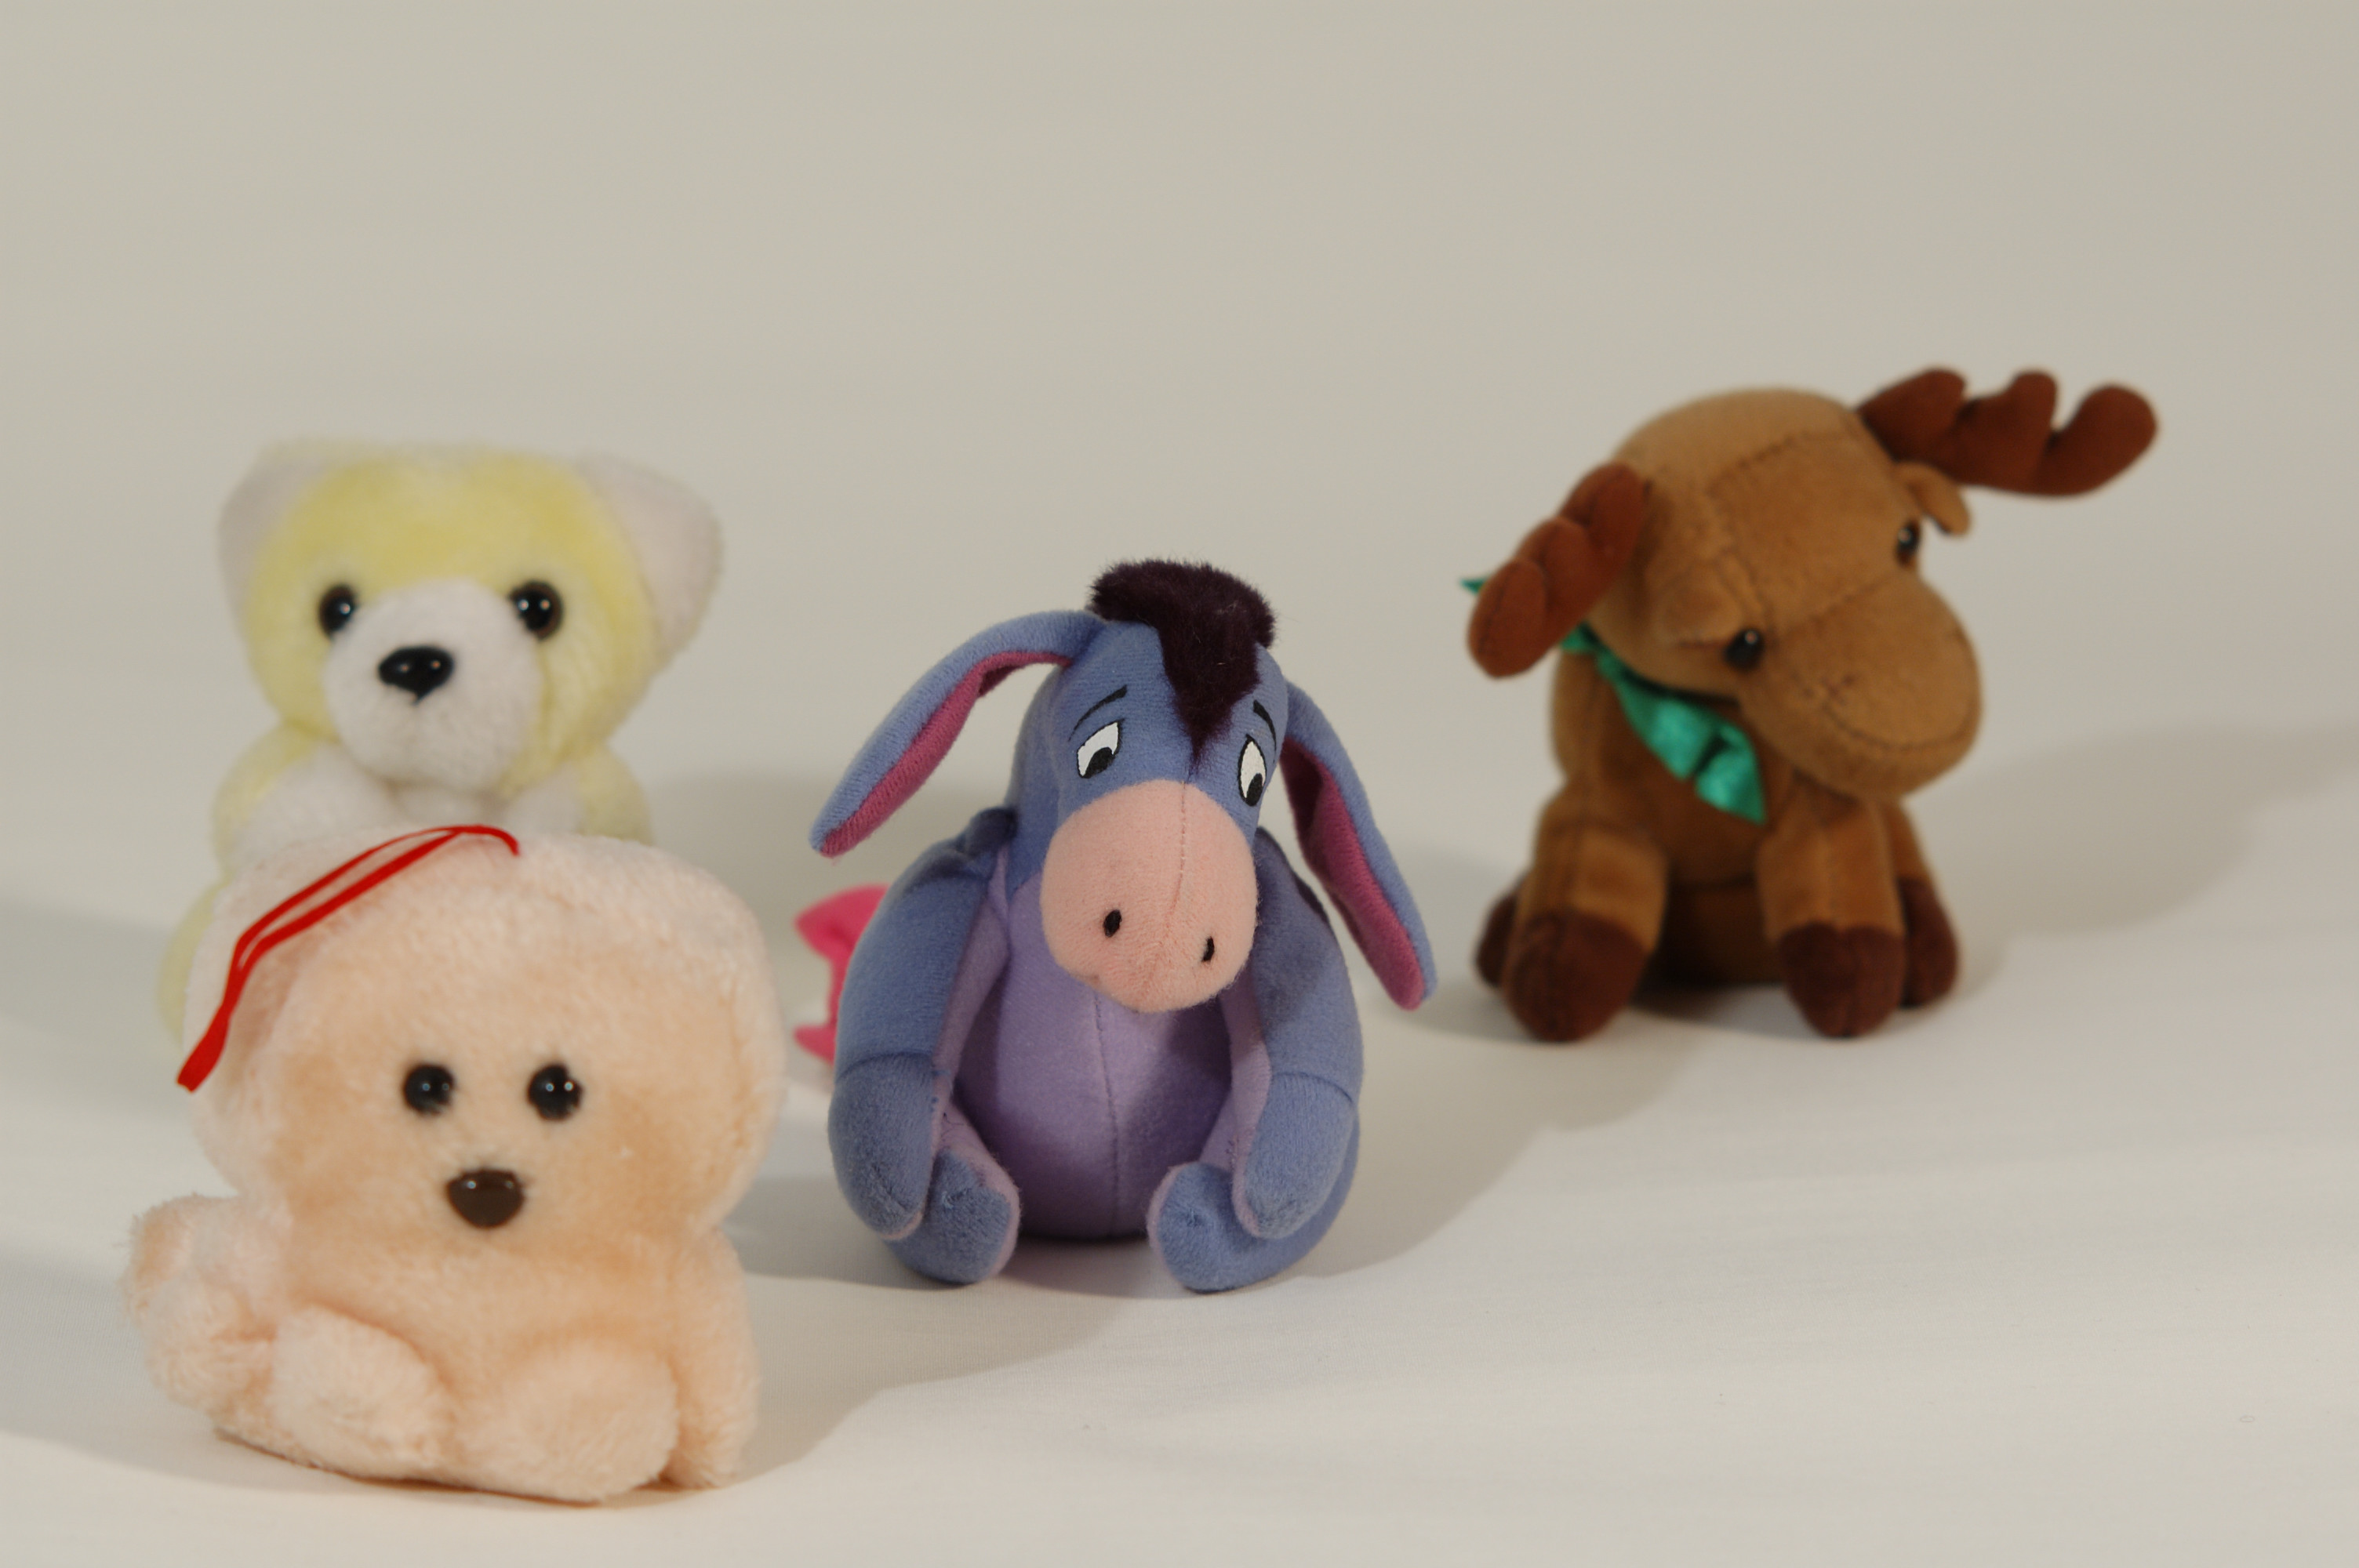
To my help I had four models, Mr. Pink Squid from Hastings, Great Britain which was seated front. Behind him Eyoore from McDonalds took the main seat. Just behind him Mr. Yellow Bear and Mr. Moose took a seat, both from Sweden. They sat on a white seamless background made out of an old projector screen. The stage was lit with two tungsten lamps. The main light to the left of and behind the camera was a 1000 Watt lamp (very hot!). To the right and slightly in front of the camera was a 150 Watt lamp.
The main light and the tripod

The set and the secondary light
Focus was set on Eyoores right eye (left from the camera position) and three pictures were taken at each aperture setting, the first with the DC-feature set to neutral, then one with it set to the matching working aperture FRONT and then REAR. This was repeated at the working apertures f/2.0, f/4.0 and f/5.6.
The light was measured using a hand-held incident meter and the camera was in manual mode mounted on a tripod.
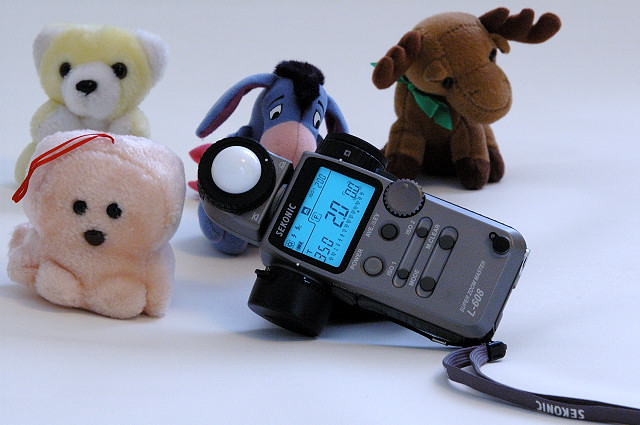
Metering the scene
All images were shot in RAW format and later converted to JPEG in Nikon View 6.2.2. Image quality was set to Normal and no post-processing, like sharpening or contrast, were done except for adjusting the white balance to counter the warm orange-yellow hue given by the tungsten lights.
Where DC is active, either FRONT or REAR, the selected aperture on the DC ring matches the selected working aperture. Image size of the images below are:
ATTENTION! Please notice that in order to see the details you probably have to examine the "Original"-size images. I think you are better off examining the enlargements and detail crops below instead as you can examine them side by side.
| DC inactive | DC FRONT | DC REAR | |
|---|---|---|---|
| f/2.0 @ 1/350 s |
 Small | Medium | Large | Original |
 Small | Medium | Large | Original |
 Small | Medium | Large | Original |
| f/4.0 @ 1/90 s |
 Small | Medium | Large | Original |
 Small | Medium | Large | Original |
 Small | Medium | Large | Original |
| f/5.6 @ 1/45 s |
 Small | Medium | Large | Original |
 Small | Medium | Large | Original |
 Small | Medium | Large | Original |
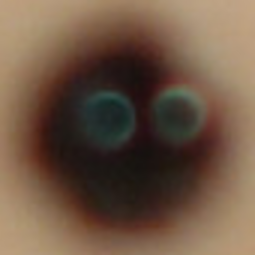
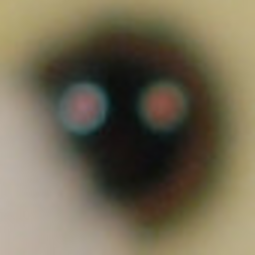
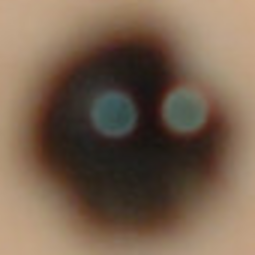
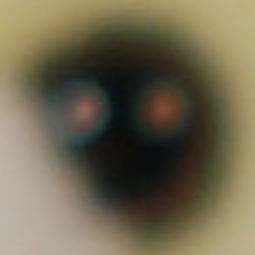
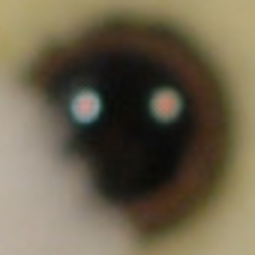
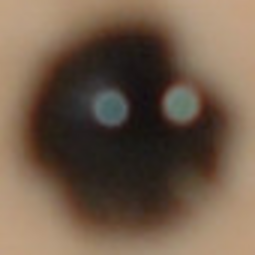
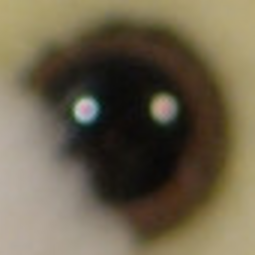
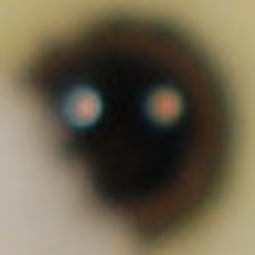
The table below shows a crop of the full resolution pictures of the left eyes of Mr. Yellow Bear (sitting behind Eyoore) and Mr. Pink Squid (sitting in front of Eyoore). In the highlights the effect is most visible. The crop is enlarged three times to give a good picture.
| DC inactive | DC FRONT | DC REAR | |
|---|---|---|---|
| f/2.0 @ 1/350 s |
  |
  |
  |
| f/4.0 @ 1/90 s |
  |
  |
  |
| f/5.6 @ 1/45 s |
  |
  |
 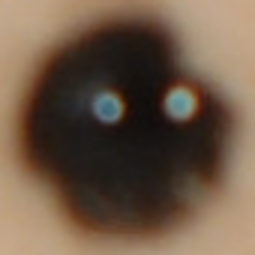 |
The effect is also visible on the red ribbon on the top of Mr. Pink Squids head. These crops are from the f/2.0 shots. On the smaller apertures the effect isn't visible since the ribbon is so close to the plane of focus (perhaps 10 cm). On the last image, when the aberration works at it's worst it is almost like double vision. On the middle image the colors are a bit muted compared to the first image. I guess that this comes from that the ribbon blends more together with the surrounding areas in the pictures, that is the pink fur of Mr. Squid.
| f/2.0 @ 1/350 s | |
|---|---|
| DC inactive |  |
| DC FRONT |  |
| DC REAR |  |
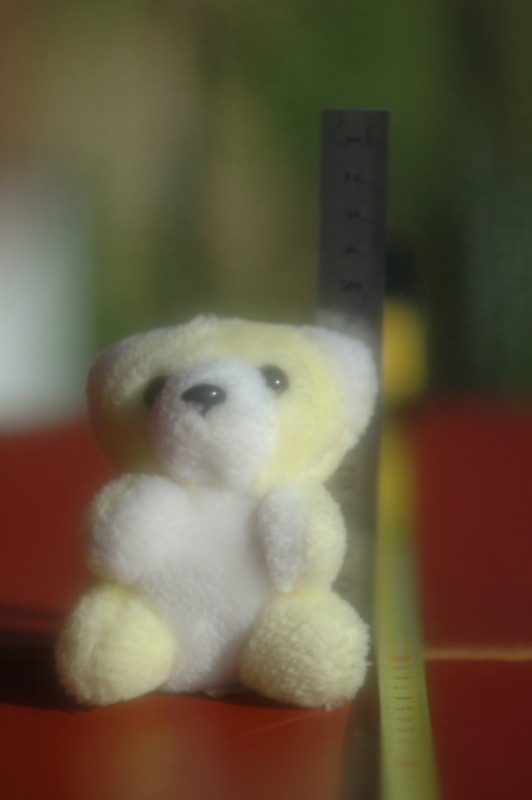
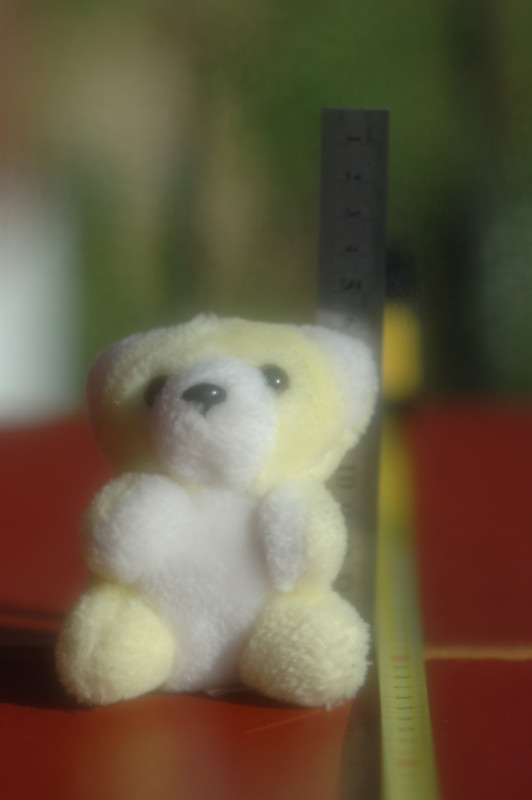
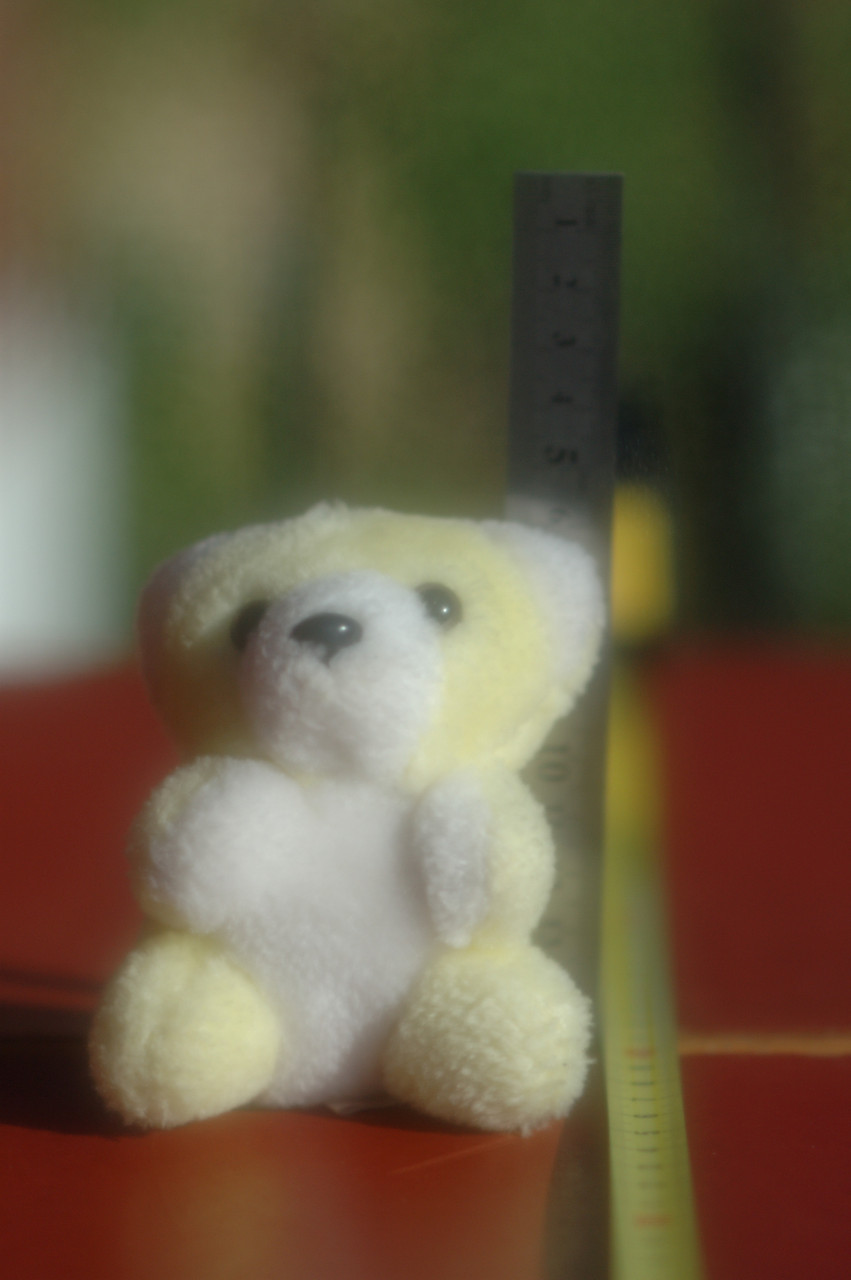
What happens if you shoot images where the aperture on the DC-ring is greater than the working aperture? You get a kind of soft focus effect. The effect is subtle and more visible when the difference between the aperture and DC-aperture is large, so usually large apertures are required. Compare these two: 1266L and 1270L for the most extreme differences.
Here are photos of the same subject taken with different apertures and DC-apertures. All DC is set to rear. To compare the effect a Hoya Softener B was used (with the DC inactive). Unfortunately the Softener photos all recieved one third of a stop more exposure time than the other photos in the same series, bar for the first one. Please note the terrible bokeh when stopping down using the Softener.
Afterwards I realized that Mr. Y. Bear had trouble sitting straight in the wind, during the shoot. In some pictures he has tilted backwards. Focus should be on the right eye. It was quite a quick shoot so I should probably reshoot it. The light was quite strong so I had to use a 2-stop ND-filter to be able to use f/2. This might have affected the performance. Hopefully next time it will be a bit less hard sunlight.
| DC inactive | DC f/2.0 REAR | DC f/2.8 REAR | DC f/4.0 REAR | DC f/5.6 REAR | Hoya Softener B | |
|---|---|---|---|---|---|---|
| f/2.0 @ 1/3200 s |
 S | M | L | O |
 S | M | L | O |
 S | M | L | O |
 S | M | L | O |
 S | M | L | O |
 S | M | L | O |
| f/2.8 @ 1/1600 s Softener |
 S | M | L | O |
 S | M | L | O |
 S | M | L | O |
 S | M | L | O |
 S | M | L | O |
 S | M | L | O |
| f/4.0 @ 1/800 s Softener |
 S | M | L | O |
 S | M | L | O |
 S | M | L | O |
 S | M | L | O |
 S | M | L | O |
 S | M | L | O |
| f/5.6 @ 1/400 s Softener |
 S | M | L | O |
 S | M | L | O |
 S | M | L | O |
 S | M | L | O |
 S | M | L | O |
 S | M | L | O |
| f/8.0 @ 1/200 s Softener |
 S | M | L | O |
 S | M | L | O |
 S | M | L | O |
 S | M | L | O |
 S | M | L | O |
 S | M | L | O |
Back in 2004 when I made these tests there were not many other out there that had made something similar with this lens. I am happy to say that there have been many more since that:
I am happy to see that these lenses have gotten more attention recently.
Simple, DC works. It is just available on two on Nikons lenses, and those aren't cheap, although several other lenses from any manufacturer might have (non-adjustable) spherical aberration making it suitable for certain shots. Most often though the spherical aberration is small.
Would it be a feature that you use all the time? For me, no, but it may come in handy at times, and it was fun experimenting with! Happy shooting.
©2004 Max Zomborszki
Updated 2016-04-27